Italy was Cold! A Wedding and Honeymoon Sweater

I can go on and on about how much I loved Italy's climate (and I do here), but after our first few days in Rome, Italy turned cold. We'd checked the weather forecasts and tried to pack light, so I figured this sweater would be plenty to keep me warm. 


The pattern is Aidez, made with Plymouth Baby Alpaca Grande, it's a pretty warm sweater, and it was warm enough most days - but I also paired it with a hat, scarf and fingerless mittens on colder days.


The cables were actually pretty easy to do. There's not as much going on as it looks like, so once I got into a rhythm it all sailed along pretty nicely. I finished all the pieces and steam blocked them before we left for our wedding, then seamed it in stolen moments between dinners, luncheons, and the like. It was easy and quick to seam, and was ready to wear for our rehearsal dinner!


As you can see above, the fronts are pretty open, which is usually how I like my cardigans. I shortened the sleeves and body since I'm short and have short arms. The sleeves hit just below my wrists, and the body of the sweater hits just below the fullest part of my hips.


The softness of the yarn makes it such a joy to knit, and also makes it a bit fuzzy, but it is still so warm and soft!

Ravelry project page here.

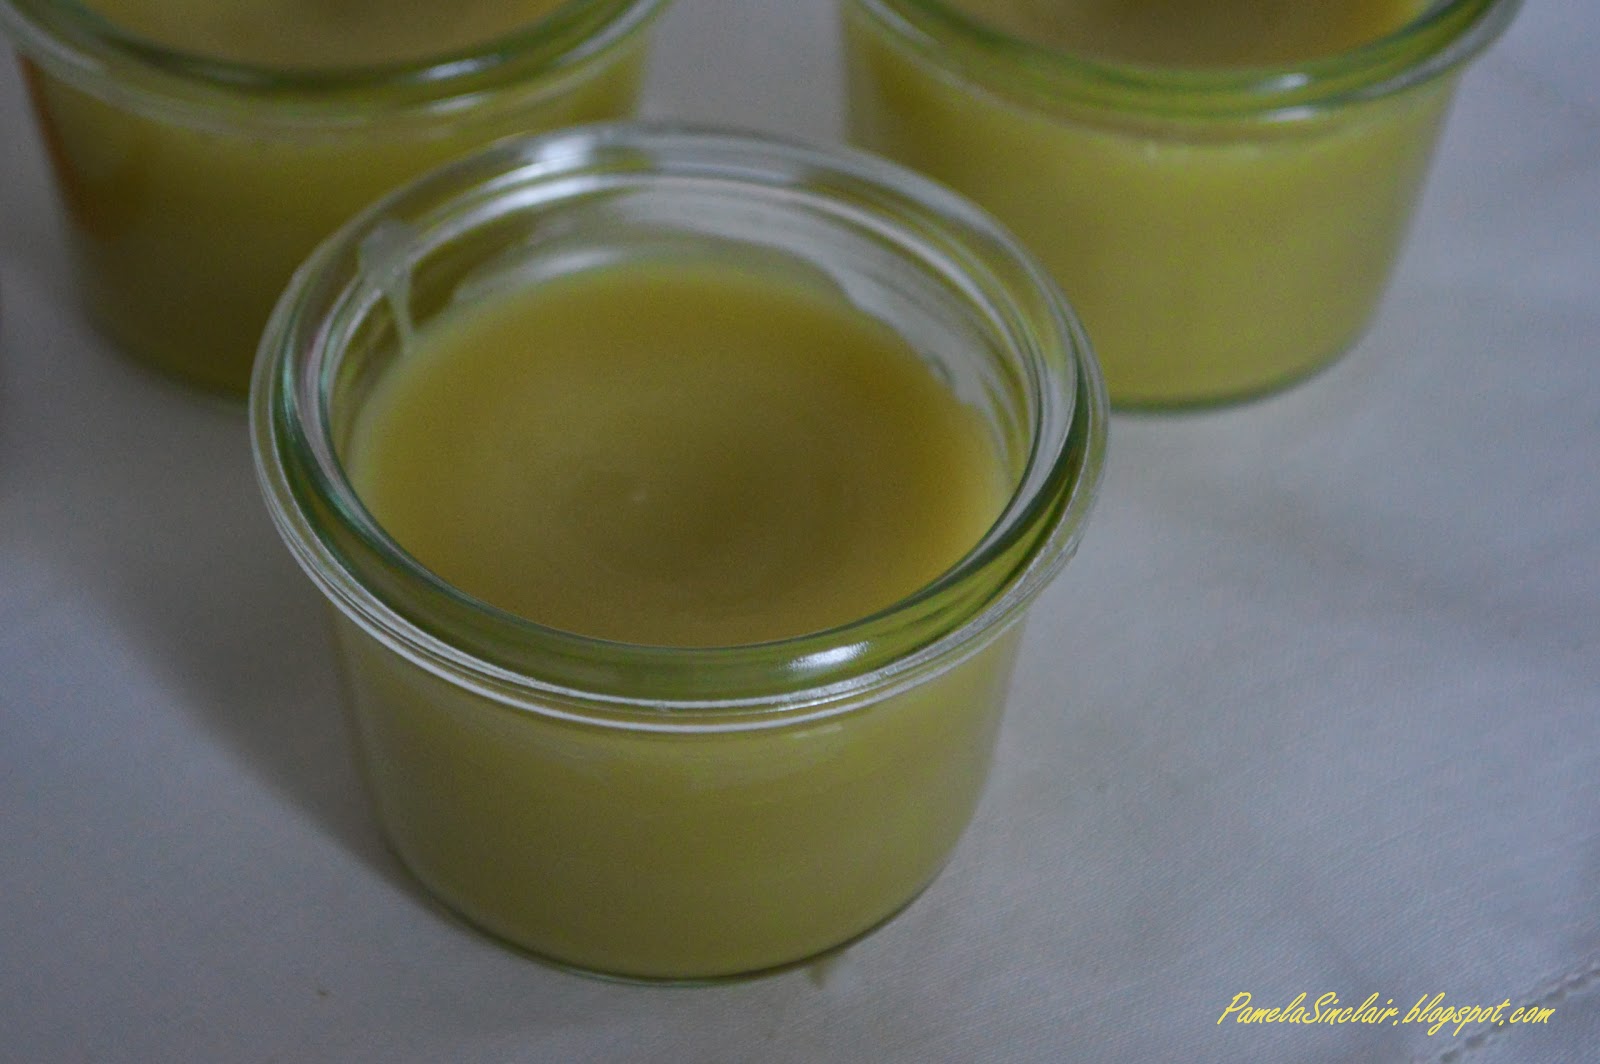
Gluten-Free Lip Balm

I don't know about you, but my skin is taking the brunt of this winter weather. And my lips take the worst of it. To top it all off, I can never seem to find chapstick that's free of all the things I'm allergic to. There are a few out there, but they don't seem to work too well. So the only thing to do is make my own.


This recipe was super easy. The hardest part is the double boiler, and that's really simple. Just a heatsafe bowl or pan inside another pan. The bigger of the two is filled with water and brought to a boil. Then the ingredients go into the other one to gently melt the wax and oils. Easy peasy.

No-Stir Mushroom Risotto with Seared Shrimp

Guess what, y'all. Food photography is hard. Even Martha Stewart has trouble taking a good food photo on her own. You know what's even harder? When it's December already, and there's only light from 8 a.m. - 5 p.m., and you want to take a picture of your 7 p.m. dinner before it gets cold. Whoever heard of such a thing? Sheesh. Anyways, that's really just a long-winded explanation for why there's no photo with this recipe. (Even though it still looks better than Martha's. Sorry, Martha.) 

Instead, here's a picture of Odie, looking cute. Which is what he does best, daylight or no daylight.


No-Stir Mushroom Risotto with Seared Shrimp

Serves 2 with a little left over, but you could easily double or triple the recipe

Until I tried this technique, risotto had eluded me. The idea here is that you get most of the effect of a creamy risotto quicker, and with less work. Sign me up!

For the Risotto:
  • 1 small onion
  • 4 ounces mushrooms
  • 1/2 bell pepper
  • 1 tablespoon olive oil
  • 1 cup water
  • 2 tablespoons heavy cream
  • 1/2 cup short-grain rice, such as Arborio 
  • 1 tablespoon butter
  • 1/2 cup grated Parmigiano-Reggiano cheese, finely grated
  • Salt and pepper, to taste

For the Shrimp:
  • 1/2 pound shrimp, peeled and deveined
  • 2 tablespoons cornstarch
  • 1/2 teaspoon coarse sea salt
  • 2 tablespoons oil or lard, for frying
Lay the shrimp evenly on a couple of paper towels. Put several paper towels on top of them, then weight with a heavy pan, like a cast iron skillet.

Meanwhile, chop the onion, mushrooms, and bell pepper finely. Combine in a small saucepan with the olive oil, and saute until they have released all their liquid and are beginning to dry out. Add the cream, water and a pinch of salt, then bring to a boil. Once the liquid comes to a boil, add the rice, give it a quick stir, then cover and lower the heat to a simmer. Cook for 14-15 minutes, or until al dente.

When there are five minutes left for the rice to cook, combine the cornstarch and sea salt in a shallow bowl. Toss the shrimp in the cornstarch so it is lightly coated. Heat the frying oil in a large skillet until it is almost smoking. Sear the shrimp, about a minute on each side, until they are golden brown, then remove from the pan and drain on fresh paper towels.

When the rice has finished cooking, add the butter and cheese, stirring vigorously so the melt evenly into the rice. 

Serve the rice in a shallow bowl topped with the shrimp. Salt and pepper to taste. Serve while it's still piping hot. 

If you have any leftover rice, you can make fried rice balls the next day. The possibilities are endless, but the basic idea is to heat up some oil, 


Season some breadcrumbs...


Form the rice into balls (some recipes even have you stuff them with cheese...yum!)


Roll those balls in the breadcrumbs...


Then fry.


Any way you slice it, it's good! Enjoy!

In Love with a Mediterranean Climate

When we went to Italy, the first thing I noticed was plants. They were everywhere! Spilling from balconies, planted in public parks, growing out of walls, on restaurant patios. Everywhere I looked, there were plants. In November. Plants that I would have brought inside months ago were flourishing.

It wasn't just public parks, although we saw a few...


It wasn't just the stunning Tuscan countryside...


Or private gardens/greenhouses...


It was the patio at our hotel, cleverly planted with containers to look like hedges.


It was ivy engulfing walls at the Roman Forum.


It was potted plants in alleyways.


Little flowers plopped on a windowsill.


And plants spilling out of balconies.


In Tuscany I saw olive groves, grapevines, and rosemary so big it could have been a hedge. In Venice I saw a pomegranate tree for the first time. Everywhere there were succulents, in pots or spilling out over balconies, cyclamen in bloom, roses, and citrus trees of all kinds, with their fruit hanging heavy on the branches.

I don't know about you, but as I write this, I'm looking out my window at snow. It's a nice change from the thick layer of smog we came home to, but I'd be lying if I said I didn't want to be standing in the middle of the Tuscan countryside. Mike thought I was silly for taking so many pictures of plants when we came to visit ancient ruins and eat pasta. But I knew there would be days like today, when a look at some green could brighten my spirits. And there's more! Each week I'll post a glimpse of the plants we saw, until I run out.

Swiftly

If you're a knitter, then you've probably sat for hours trying to untangle a mess of yarn. Maybe it was the last bits of a center-pull ball of yarn, or maybe it was a big old tangly hank that you forgot to have wound at the store. I've done it - at home, at the airport, nearly anywhere I knit, I've sat trying to untangle some fiddly yarn. On those occasions, I wish for a yarn swift and ball winder to make my life a little easier. Yet, I've never quite gotten around to purchasing one, and I'll show you why.


All you need is two chairs - placed back to back. Then just loop your hank of yarn over them like you see in the picture, and get winding! True, you don't get that great spinning action that a swift has, but unless you're knitting a million miles an hour, this will save a pretty penny, save some storage space, and still helps get the job done - with a lot fewer tangles!


By the Way...

If you're wondering whether I'd dropped off the radar a bit, I did. I had the blog running on autopilot a bit, and also...got married, went on a honeymoon to Italy, had Thanksgiving with my family in Virginia, and then made my way back to Salt Lake City! Whew!

It's been a crazy couple of weeks, and I have so much to write about. Hopefully I get to even a third of it. There were wedding DIY projects, parties after parties, all gluten-free, gluten-free restaurants, and sightseeing, and more. I came back from Italy wanting to make everything I couldn't eat there gluten-free, and I'm currently swimming in Italian cookbooks working to make that happen. Plus, I'm happy as a clam playing with every single new kitchen toy we got as wedding presents. Now I realize why newlyweds always complain about gaining weight!

Despite all the fun new toys and growing list of dishes to try, after all our eating in Italy and again at Thanksgiving, I'm ready for some lighter fare. Since winter is quickly approaching, that doesn't necessarily mean salads, although we are enjoying some with our meals. Right now, lighter fare means smaller portions and more vegetables. So here's a simple roasted cauliflower recipe:


Wash a head of cauliflower, then remove leaves and stem. Slice the head into 1/2 inch slices, then cut each slice into smaller pieces at the base of the stems. Spread evenly in a single layer on a baking sheet, drizzle with olive oil and sprinkle with salt, then pop into a 400 degree oven for 10 minutes. Turn the cauliflower pieces over, drizzle with olive oil and sprinkle with salt again, and roast another 10 minutes. You can cook them a little shorter or longer, depending on how browned you like them.

Makes an excellent veggie side, or you can let the roasted cauliflower cool, then pulverize it in a food processor to make "rice." OR you could use the pulverized cauliflower for a pizza or quiche crust - just mix in an egg, then spread in the bottom of a pan and bake at 350 degrees for 10 minutes or until the crust is firm. I find this works better than the recipe I've seen floating around Pinterest, since roasting takes care of some of the excess moisture and brings out all those delicious sugars!


Updated: Cranberry Orange Muffin Recipe

Got any leftover cranberries? If you're like me, there was no cranberry sauce, leaving lots of cranberries for other things, like my favorite, cranberry orange muffins...I totally stock up on cranberries this time of year so I have them all year round.

About a month ago, I posted a recipe for cranberry-orange muffins. When I went to make them today, I realized I hadn't given any of the liquid ingredients in the recipe! Silly me.  The recipe in the link is fixed, but here's the recipe just in case:

Gluten-Free Cranberry Orange Muffins

Ingredients:

  • 160 g gluten-free flour mix (I used the white flour blend* from Gluten-Free Girl Every Day)
  • 30 g flaxseed meal
  • 1/4 t baking powder
  • 1/4 t baking soda
  • 1/8 t salt
  • 1 T psyllium husks
  • 1/2 c sugar
  • 1 T orange zest
  • 3 T butter, melted and slightly cooled
  • 1/2 c buttermilk
  • 1 egg
  • 1/2 t vanilla extract
  • 1 T orange juice
  • 1/2 c cranberries

For the crumble:

  • 2 T cold butter
  • 2 T gluten free flour
  • 1/4 c sugar
  • 1 T cinnamon
  • 1 t orange zest
  • pinch salt

Preheat the oven to 350 degrees Fahrenheit.  Line a muffin pan with papers.

Prepare the crumble: cut the butter into the sugar, then stir in the remaining ingredients. Set aside.

In a medium bowl, whisk together the orange zest and sugar. Whisk in the remaining dry ingredients.

In a separate bowl, whisk together the buttermilk, egg, butter, and vanilla.

Pour the liquid into the dry ingredients. Stir half-way and add the cranberries. Stir very gently until combined.

Use a spoon to divide the batter evenly among the prepared muffin tins.

Top with the crumble, pressing lightly on the tops.

Bake for 15-20 minutes, or until a toothpick inserted into the center of a muffin comes out almost clean.


*I've also used their whole-grain flour mix, and that turned out well, too.